


Start with the failure pattern, not the maintenance form
For after-sales maintenance teams, the practical value of good distribution transformer maintenance tips is simple: fewer surprise outages, fewer repeat visits, and fewer units aging out long before they should. In the field, early failure rarely comes from one dramatic event alone. More often, it starts with small signals that get ignored because the transformer is still running. A slight rise in oil temperature, a load that creeps up every week, a bushing surface that keeps collecting contamination, a change in sound that nobody writes down. By the time protection trips, the damage is usually no longer small.
If you handle service and maintenance, the job is not to inspect everything with equal effort. It is to catch the conditions that shorten life fastest, then act before insulation, windings, or connections are pushed past recovery. The checklist below follows that logic.
Check what changed since the last visit
A transformer that was stable six months ago can become high-risk because the site changed around it. Before touching the tank, confirm three things with the operating team: load growth, switching behavior, and the local environment. New production equipment, seasonal peaks, frequent motor starts, capacitor bank changes, or poor ventilation around the installation all affect how you interpret what you see.
This matters because many maintenance mistakes come from judging a unit against its own old condition without noticing that the duty has changed. A transformer that now runs hotter under a heavier but legitimate load is a different problem from a transformer running hot at the same load as before.
Walk the outside slowly before you open anything
The external walkdown still catches a surprising number of serious issues. Do not rush it.
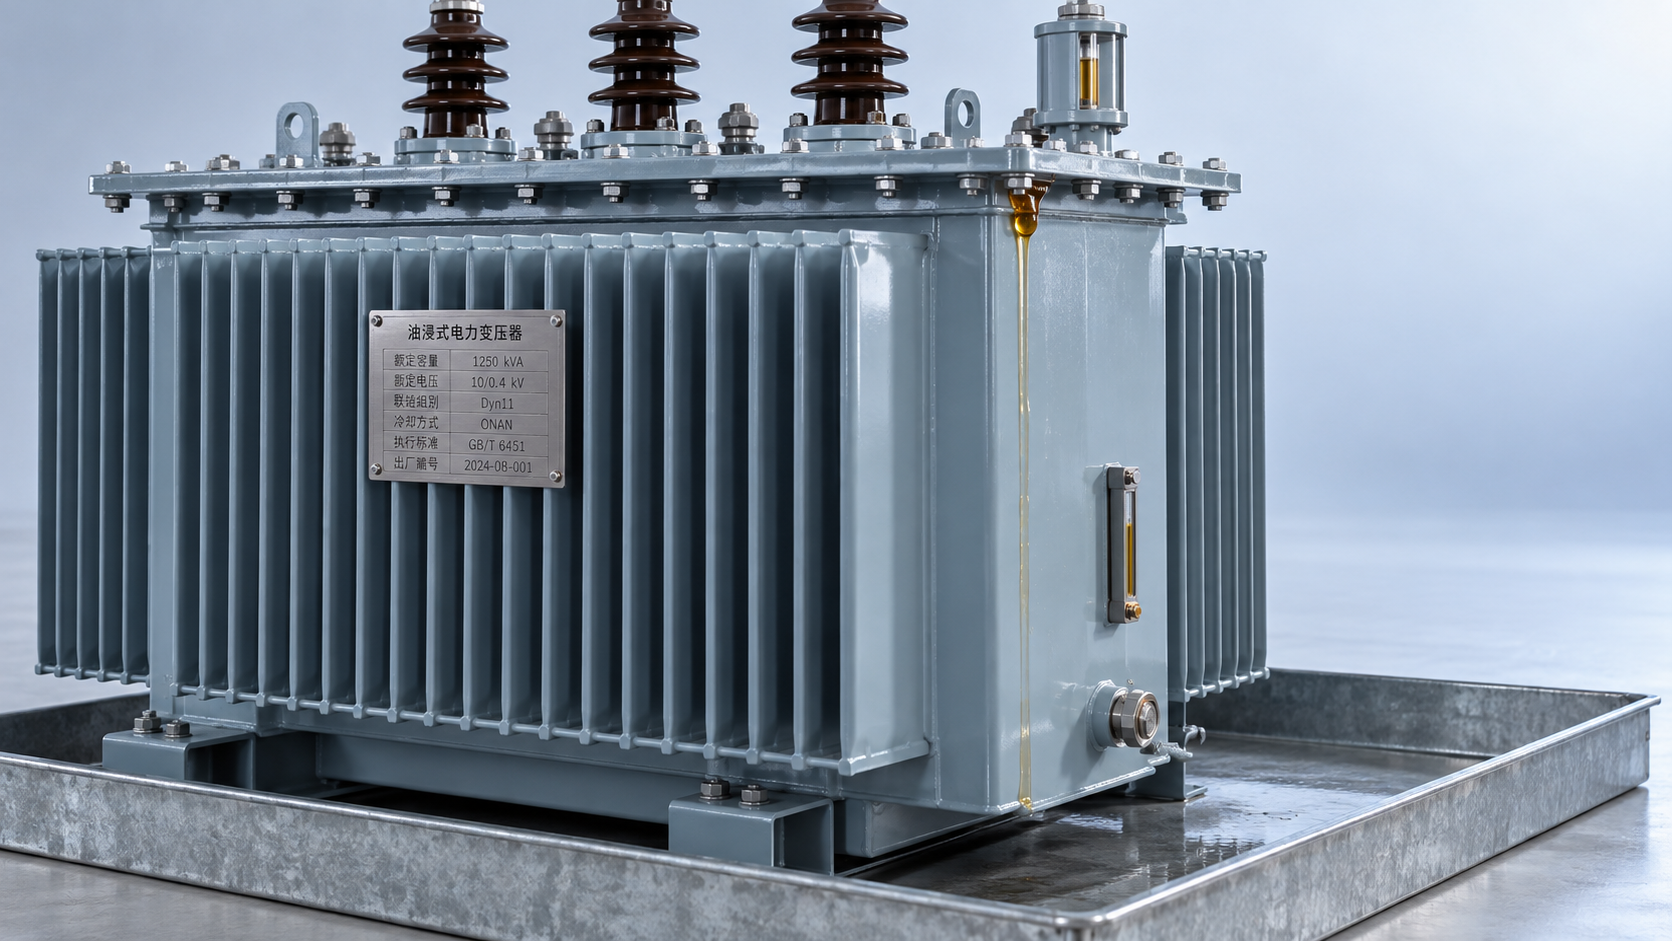
- Look for oil stains on the tank, radiators, valves, flange joints, and around the conservator area if fitted. Fresh wetness and old dirt-darkened seepage are not the same thing. Active leakage needs a different response from a historical stain.
- Check bushings for cracks, tracking marks, contamination buildup, and loose connections. Dirt mixed with moisture is enough to create surface leakage risk in the wrong environment.
- Listen for sound changes. A normal hum is one thing; a sharper buzz, intermittent vibration, or rattling panel often points to loose hardware, magnetic imbalance, or abnormal loading.
- Inspect the ground connection, cable terminations, and signs of overheating at lugs or clamps. Discoloration, insulation hardening, and burnt odor usually tell the story before instruments do.
If you find both leakage and high temperature, treat that combination seriously. Oil loss alone is one problem. Oil loss plus thermal stress is how minor defects become insulation problems.
Temperature tells you which issue deserves first attention
When teams ask how to prevent early failure, temperature is usually where the answer starts. You are trying to separate normal heat from harmful heat. Check top-oil temperature, surface hot spots, ambient conditions, and whether the heat pattern is even.
An even temperature rise across the tank under high load suggests capacity stress or cooling limitations. A localized hot spot near terminals, tap changer connections, or one section of the tank points more toward contact resistance or an internal issue. Infrared scanning is useful here, but it only helps if you compare like for like: similar load, similar ambient, similar scan angle.
Do not treat load checks as a paperwork exercise
A transformer can survive occasional peaks. What shortens life is repeated thermal stress with no recovery time, especially when the site assumes nameplate capacity means unlimited daily operation under all ambient conditions. Review phase balance, recurring peak periods, and whether harmonics are part of the load mix.
One common field mistake is looking only at total load while ignoring imbalance. If one phase is consistently carrying more, winding heating does not stay “average” just because the total kVA appears acceptable. Another mistake is dismissing a transformer as undersized when the actual issue is blocked ventilation or poor connection condition.
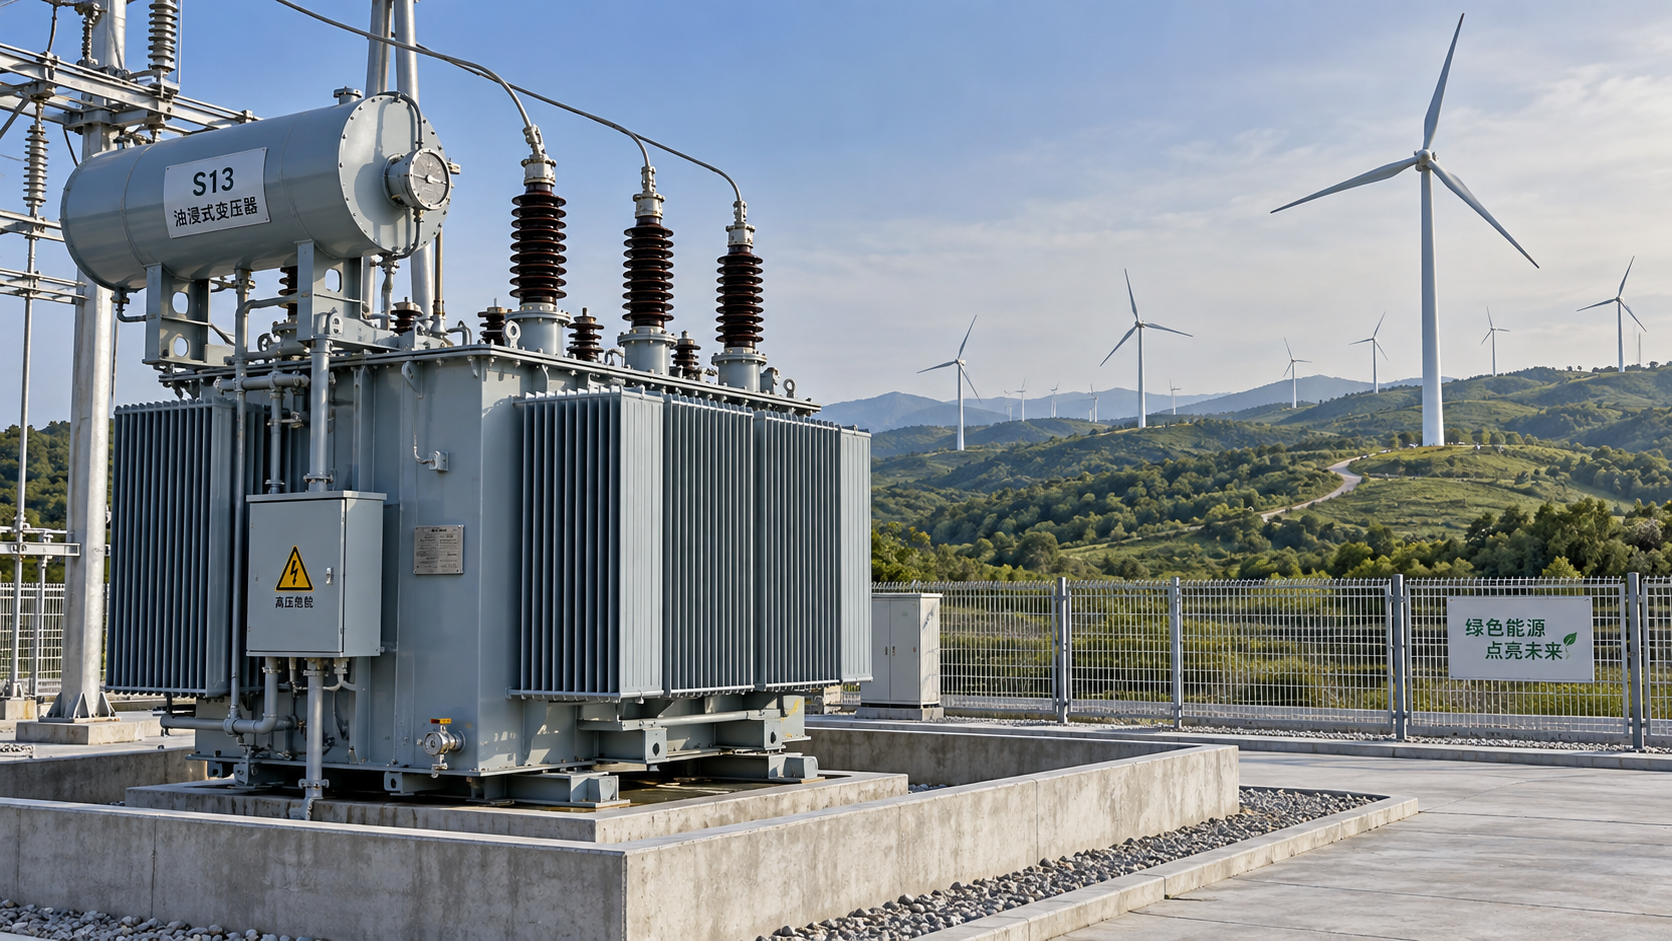
When replacement planning comes up, compare the application with actual product configuration rather than buying by habit. For example, the S13 Series Oil-Immersed Power Transformer covers rated capacities from 30 to 2500 kVA, offers Yyn0 or Dyn11 connection options, and is designed to reduce no-load loss and noise through an optimized core and coil structure. That is relevant in maintenance decisions because lower loss and lower noise can help service teams distinguish between normal operating behavior and emerging abnormality more clearly.
Oil condition is not just about level
For oil-immersed units, oil level is only the visible part. You also need to judge oil condition, signs of contamination, and whether the oil is still doing its job as insulation and cooling medium. If the site has sampling procedures, follow them strictly. Bad samples produce bad decisions.
On routine visits, focus on what you can reliably assess in the field:
- Unusual darkening or suspended particles in a sight indication area, where visible.
- Repeated need for oil top-up, which usually means the leak was never truly repaired.
- Moisture entry risk around seals, breathers, covers, and maintenance points.
Do not top up and walk away unless you know why the level dropped. That habit hides slow failure. If the issue is seal aging, flange deformation, or a valve not seating correctly, the unit will come back to your list with worse symptoms.
Pay attention to tap position and switching history
Tap settings get overlooked because they are not dramatic. Yet a mismatched tap position can drive overheating, poor voltage performance, and unnecessary complaints from the user side. Verify the actual tap position against the required system condition and maintenance record. If a transformer has been moved, replaced, or reconnected after outage work, this check matters even more.
If there is evidence of repeated manual adjustment without proper recording, assume nothing. Confirm the setting physically and electrically where procedure allows. Wrong assumptions here waste hours chasing “temperature problems” that are really voltage mismatch and loading effects.
Treat noise and vibration as diagnostic clues
Service teams often get called because “the transformer sounds louder than before.” That complaint is worth taking seriously, especially when the increase is recent. A noise change can come from core looseness, loading change, mounting issues, or connection problems. It does not automatically mean internal failure, but it does mean conditions have changed.
Some newer low-loss designs are built to reduce operating noise as well as energy loss. For example, the S13 model range is described as reducing no-load loss by an average of 20% and reducing noise levels by an average of 20% compared with JB/T10088-2016. In practice, that kind of baseline helps maintenance staff because a unit designed for lower noise gives less room for abnormal sound to hide.
Keep connection quality high, especially after service work
A surprising number of early failures come after maintenance, not before it. The usual causes are loose terminations, uneven torque, contaminated contact surfaces, or hardware reused past its reliable condition. This is why post-service checks matter as much as the repair itself.
- Clean contact surfaces properly.
- Use the correct tightening procedure for the connection type.
- Recheck after the unit returns to service if your maintenance standard requires it.
When a termination runs hot shortly after service, look first at workmanship and contact condition before assuming an internal winding problem. That order saves time and avoids unnecessary escalation.
Read the nameplate and technical documents every time they matter
This sounds basic, but field errors still happen because teams rely on memory. Before major decisions, confirm the rated capacity, voltage combination, connection mark, and impedance data from the actual unit documents. If the transformer belongs to a product family built under standards such as GB1094.1-2-1996 and GB/T6451-2008, that tells you the framework it was manufactured to meet, but your maintenance judgment still depends on the exact unit in front of you, not the product series in general.
This is also where manufacturer records help. A supplier with formal quality systems and documented inspection practice can make troubleshooting faster because traceable data tends to be cleaner. That is useful context, not a substitute for field verification.
Write down trends, not just defects
A maintenance note that says “normal” is nearly worthless if the transformer fails three months later. What helps the next technician is trend information: top-oil condition compared with last visit, repeat leakage points, sound differences, load pattern changes, and whether terminal temperatures are drifting upward over time.
Early failure prevention depends on pattern recognition. One abnormal reading may only justify watchkeeping. The same abnormality appearing three visits in a row is a different decision.
A practical visit order that works in the field
If time is limited, use this order: confirm operating changes, perform the external walkdown, check temperature behavior, review load and balance, verify oil condition and leakage points, confirm tap setting, then close with connection quality and record updates. That sequence catches the highest-risk causes of early failure without turning routine maintenance into a box-ticking exercise.
The point of distribution transformer maintenance tips is not to create longer checklists. It is to notice what is drifting out of normal, judge whether the drift is thermal, electrical, or mechanical, and correct it before insulation life is spent for no good reason. Teams that work this way usually see fewer emergencies and much cleaner fault histories.



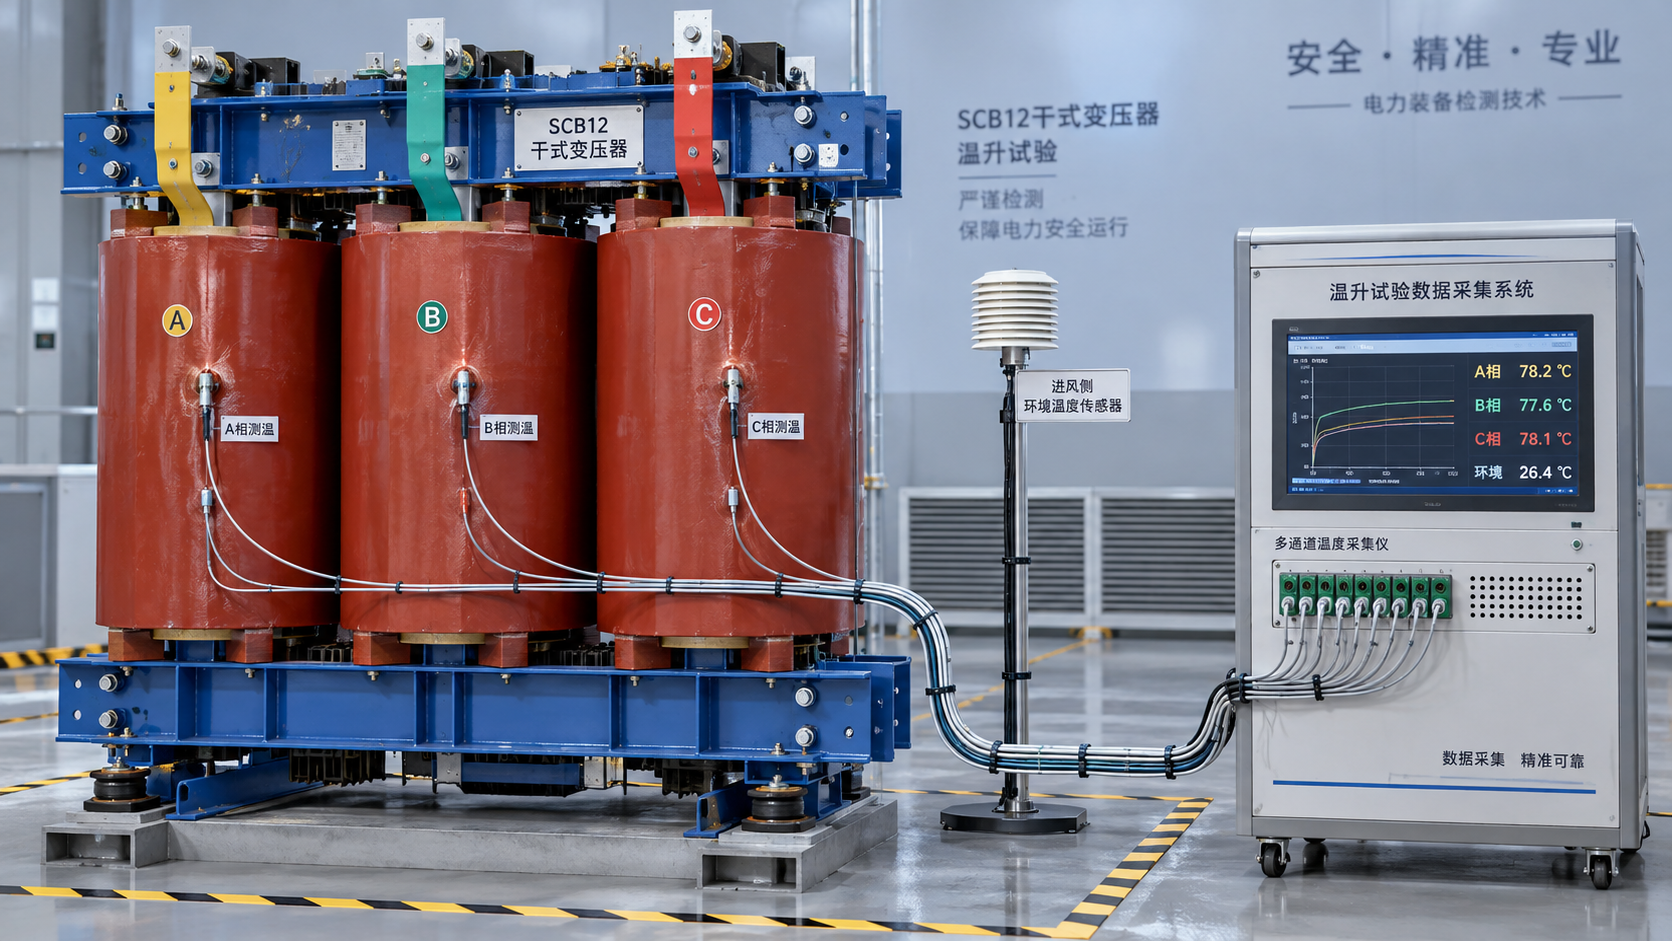
 How to verify the temperature-rise test of an SCB12 dry-type transformer
 Distribution transformer maintenance tips for spotting oil leaks
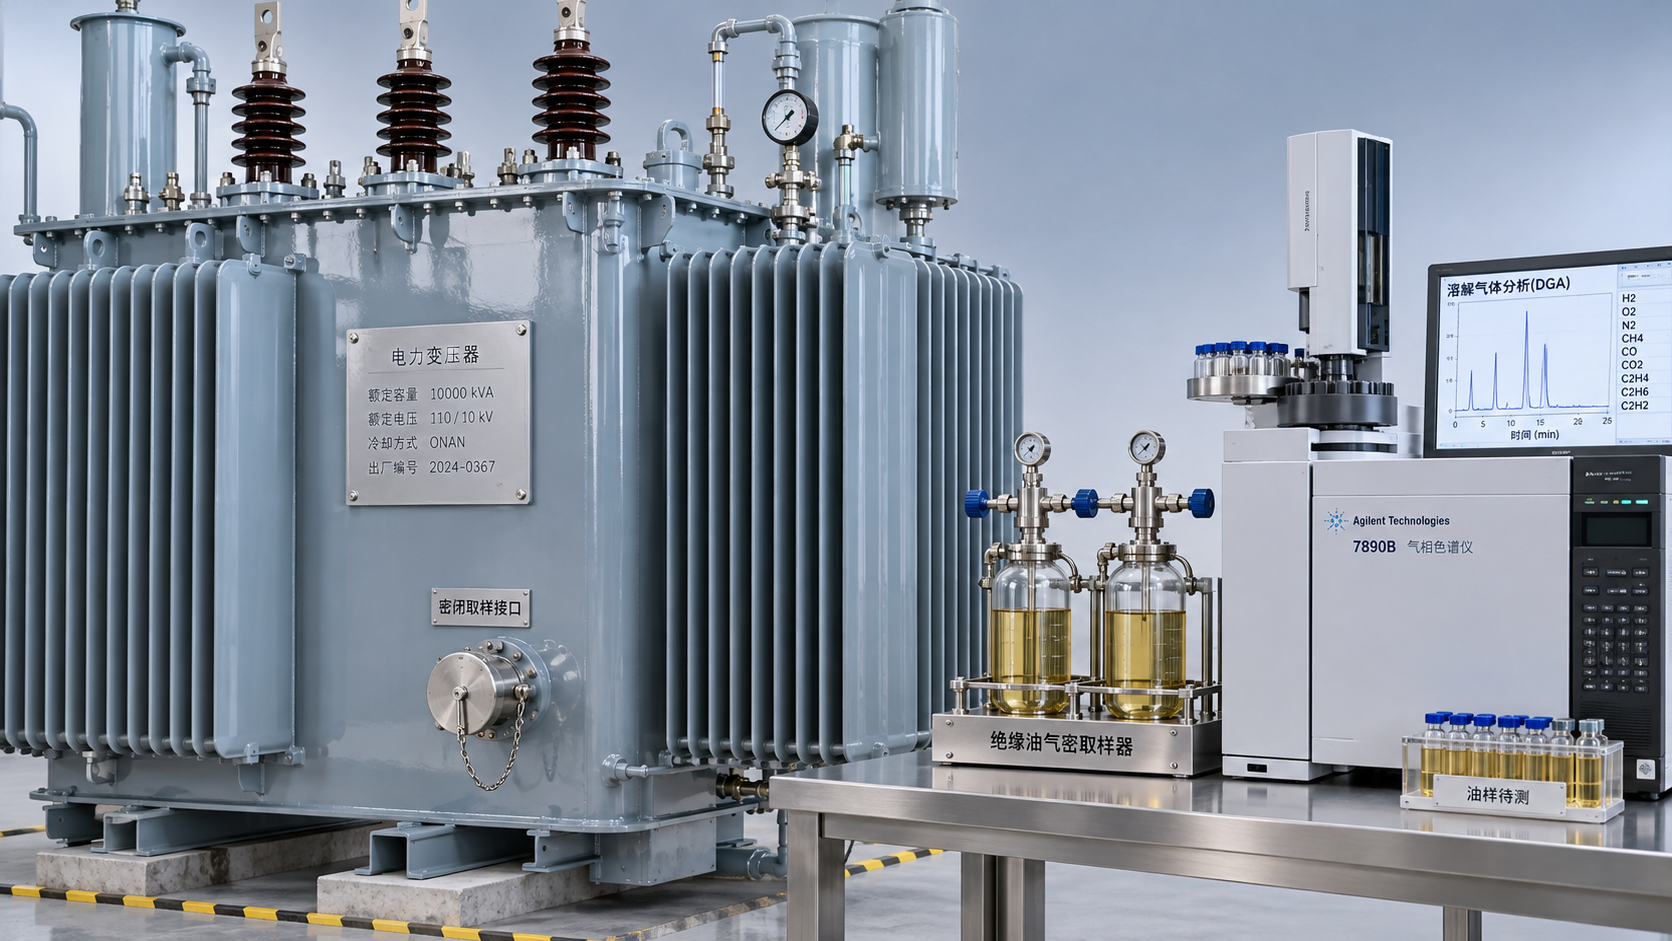
 What dissolved gas analysis reveals about an oil-immersed transformer
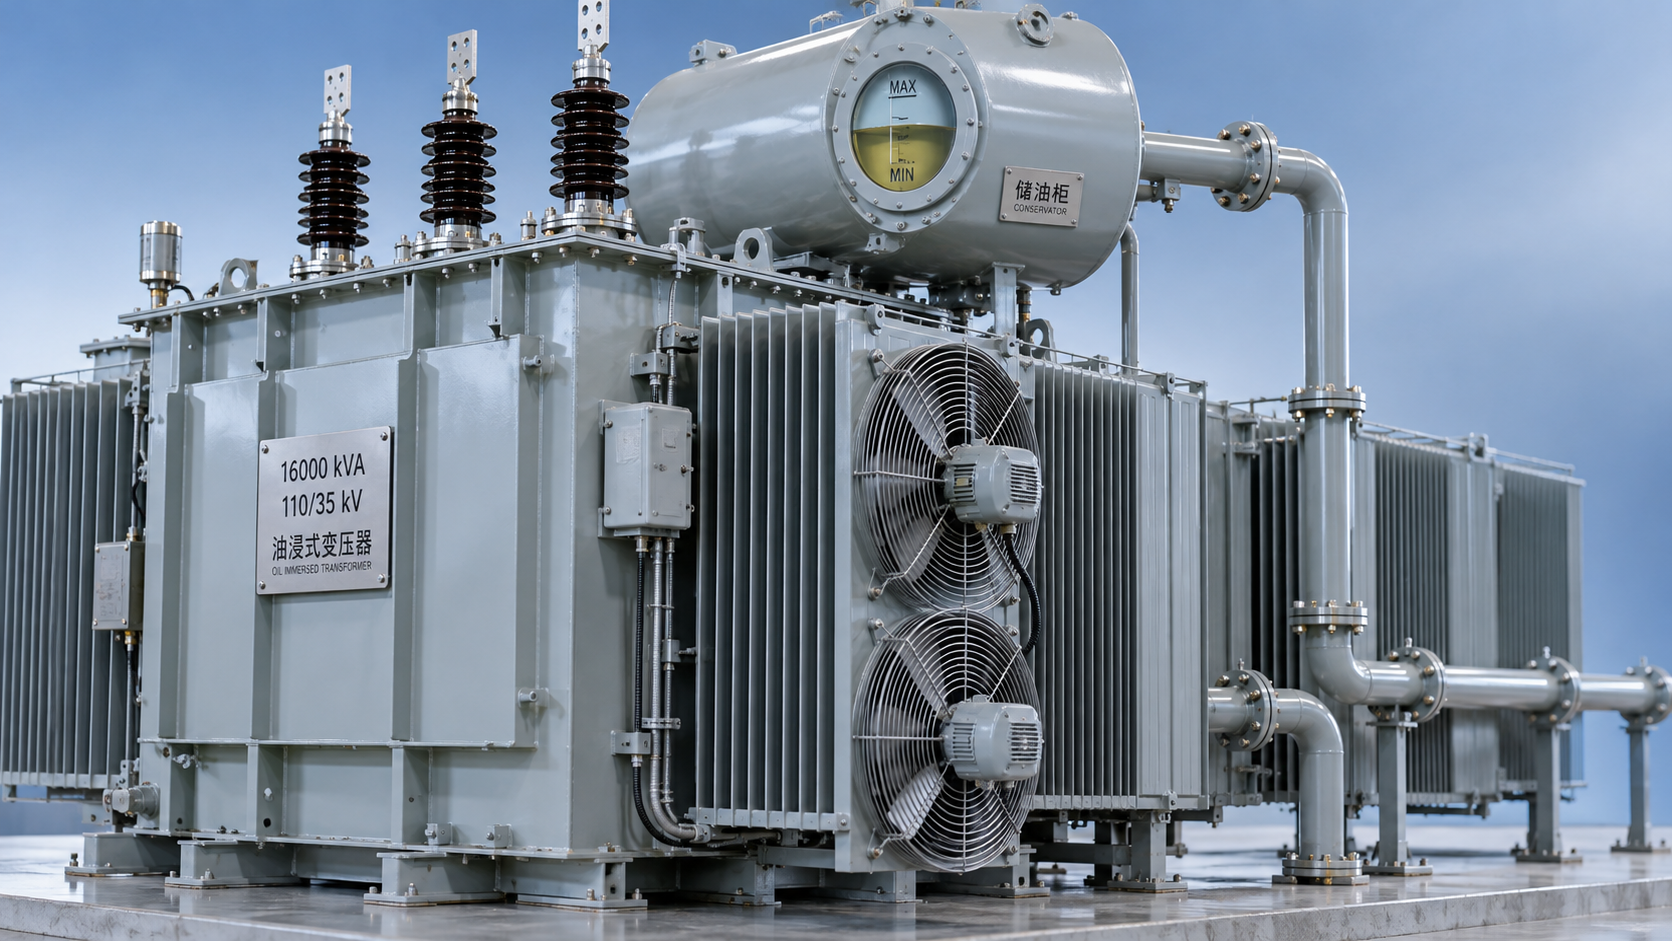
 Why an oil-cooled transformer overheats despite a normal oil level
 How the amorphous core affects SCBH15 dry-type transformer losses
 Sizing S13 oil-immersed transformers for variable wind farm output
GET A FREE QUOTE
We offer reliable products, competitive prices, and nationwide professional support, committed to providing customers with efficient and energy-saving power equipment solutions.